I don' t know if this is another direction for some of my artwork but maybe. After designing my daughter's invitations for her birthday party, I got a request from a friend to design her daughter's invitations for her party. After designing hers, I thought it may be a good outlet for my digital art and a chance to get more exposure on Etsy. Having two young children at home, leaves little time for my art sometimes. To be able to get more avenues out there for my art is wonderful. Sometimes one digital print can take me a week or more to make! Many people, including my family, don't know what goes into creating my digital artwork, so I decided to show the process on designing an invitation.
To Create a Pattern:
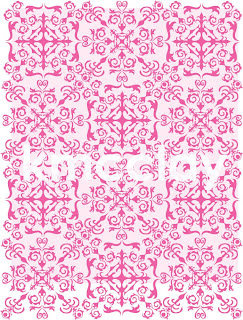
 The sketches above are first drawn in pencil and then outlined in black pen for better visibility when scanning. After scanning these pattern ideas, I place them into Illustrator and redraw them with the pen tool where they will become vector graphics. I usually only draw half of a design that will have a mirror image. After a lot of drawing, copying, pasting, and connecting I play with different images and sizes until a pattern begins to emerge that I like. Then, it's more grouping, copying, and pasting. A finished pattern used in the invitation.
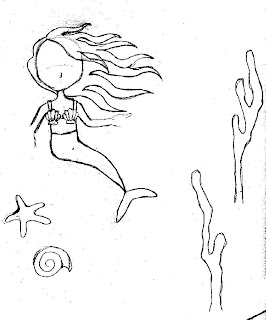
Next, I draw the subject matter from my sketchbook in Illustrator using the same method as the pattern. I take facial features from a previous girl already drawn on the computer. A closeup of the eye shows details drawn that are barely visible from the computer screen. The eye alone takes about 20-30 minutes to draw using the pen tool, so reusing elements is essential.
After working on several different layers creating the mermaid, her clothing, and the patterned backgrounds, I add in some touches I have previously already drawn in other prints.
Each drawing has several different layers before grouping them into one easy to manage image. I will use these to add more detail into the drawing.
The finished design of the invitation! Many steps were left out in this explanation, but I didn't want to bore anyone, including myself with the details like I use 4 different drawn patterns in this invitation. Also, I use clipping masks in everything I create. There are about 10-15 different layers in this one little invitation where each image is stacked on top of another image. This image is made up of 6 different documents. After the image is finished, I set the type where I want it placed. Please note, some type in this invitation is removed for privacy reasons. Thank you for listening to the rambling on, I really don't know if I made much sense. I hope I shared some of my process, even if just a little bit.


Hi Kristina, Its lovely to connect with you. What a delightful design! Thanks for sharing the process. It certainly seems like a lot of work, but the end result is fantastic! :)
ReplyDelete